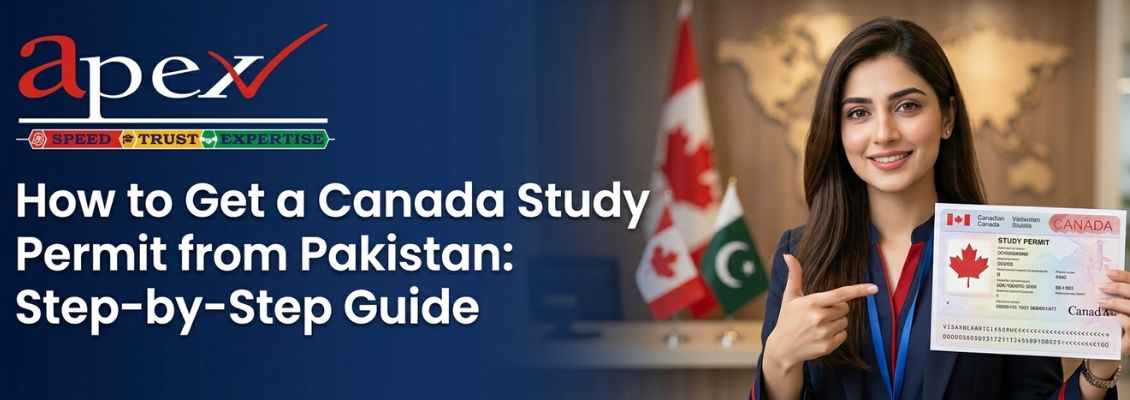
If you’re planning to study in Canada from Pakistan, one of the first things you’ll realize is how confusing the study permit process can feel, especially with all the paperwork, changing rules, and conflicting advice online. Between visa officers, immigration consultants, and forum posts that contradict each other, it’s easy to feel overwhelmed before you’ve even started. The good news is that once you understand the process step by step, it’s actually very manageable. This guide walks you through exactly what you need, in the order you need it, so you can apply with confidence instead of guesswork.
Why Canada Is Still a Top Choice for Pakistani Students
Canada continues to attract thousands of Pakistani students every year, and it’s not hard to see why. The country offers globally recognized degrees, a genuinely diverse and welcoming environment, and, perhaps most importantly, a realistic path to gaining work experience through part-time jobs and post-graduation work permits. Compared to some other study destinations, Canada’s public universities and colleges also tend to offer more affordable tuition without compromising on quality, which matters a lot when you’re budgeting for an entire degree abroad.
Beyond the academics, Canada’s immigration pathways are another major draw. Many students choose Canada specifically because a study permit can eventually lead to a Post-Graduation Work Permit (PGWP) and from there, to permanent residency through programs like Express Entry or the Canadian Experience Class. For Pakistani families investing significant money into a child’s education abroad, this long-term possibility of settling and building a career in Canada often makes the entire decision easier to justify. Add to that Canada’s reputation for safety, multicultural cities, and a large existing Pakistani community in places like Toronto, Mississauga, and Brampton, and it’s clear why Canada keeps ranking among the top choices year after year.
Step 1: Get Your Letter of Acceptance (LOA)
Before you can even think about the study permit, you need an acceptance letter from a Designated Learning Institution (DLI) in Canada. This is the official list of schools approved to host international students, so it’s worth double-checking that your chosen university or college is on it before you apply. Your LOA is the foundation of your entire application; without it, nothing else moves forward.
When choosing where to apply, don’t just look at rankings. Consider the program’s co-op or internship options, the city’s cost of living, and how closely the course connects to your previous academic background or work experience. Immigration officers pay close attention to whether your chosen program makes logical sense given your history, a sudden, unexplained switch in field of study can raise questions later in the process. It’s also worth applying to more than one institution where possible, since processing times for offer letters vary, and having a backup option can save you months if your first choice falls through.
Step 2: Prove Your Financial Capacity
This is where a lot of applications run into trouble. Canadian immigration wants to see that you can actually afford to live and study there, not just pay your first year’s tuition. You’ll typically need to show proof of funds covering tuition plus living expenses, whether that’s through your own savings, a sponsor, or an education loan. Bank statements need to reflect a stable financial history, not just a lump sum that appeared a few weeks before applying, visa officers do notice this, and it’s one of the most common reasons files get flagged.
If you’re using a sponsor, a parent, sibling, or relative, you’ll also need to prepare documents proving the relationship and the sponsor’s source of income, such as salary slips, business income proof, or property documentation. Where the money comes from matters just as much as how much of it there is. Sudden large deposits, unexplained transfers, or gaps in banking history are red flags that experienced visa officers are trained to catch. A good rule of thumb is to have your financial documentation in order at least six months before you plan to apply, so your accounts show a natural, believable pattern of savings rather than a last-minute scramble.
Step 3: Meet the Language Requirement
Most Canadian institutions require proof of English proficiency through IELTS, though some programs accept PTE or other accepted exemptions. Your required band score will depend on the university and program level, so it’s worth checking this early rather than assuming a generic score will work everywhere.
It’s worth booking your test slot well in advance since popular test centers in cities like Karachi, Lahore, and Islamabad can get fully booked during peak application seasons. If your first attempt doesn’t meet the required band, give yourself enough buffer time to retake it; rushing a retest right before your application deadline adds unnecessary stress to an already document-heavy process. Some students also underestimate the writing and speaking sections in particular, so focused preparation in those areas can make a real difference to your final score.
Step 4: Complete Your Medical Exam (If Required)
Depending on your program length and the province you’re heading to, you may need to complete an upfront medical exam with a panel physician approved by the Canadian immigration authorities. This step can take time to schedule, so it’s smart to get it done early rather than leaving it until the last minute.
In Pakistan, only a limited number of panel physicians are authorized to conduct these exams, and appointment slots can fill up quickly, especially during intake-heavy months like January and September. The exam itself is straightforward, but results can take a few weeks to be uploaded into the system, so building this into your timeline early avoids a bottleneck right before your application deadline.
Step 5: Submit Your Study Permit Application
Once your documents are in order, LOA, proof of funds, language test results, passport, and any additional documents specific to your case, you’ll submit your application online. This is also where a Statement of Purpose becomes important. It’s your chance to clearly explain your academic goals, why you chose your specific program, and your genuine intention to study and return home after completing your studies. A generic, copy-paste SOP is one of the easiest ways to get flagged, so this section deserves real attention.
A strong SOP tells a connected story: why this program, why this school, why now, and how it fits into your career plans. Vague statements about “wanting a better future” without specific reasoning rarely convince an officer who reads hundreds of similar letters every week. Instead, tie your academic background directly to your chosen program, mention specific courses or faculty that interest you, and be honest about your plans after graduation. Trying to guess what the officer “wants to hear” often backfires, authenticity and clarity matter far more than a polished but generic narrative.
Step 6: Biometrics and Processing
After submission, you’ll be asked to provide biometrics (fingerprints and photo) at your nearest visa application centre. From there, your file goes into processing, and timelines can vary depending on the volume of applications and your specific case. Staying responsive to any additional document requests during this stage helps avoid unnecessary delays.
Processing times published by immigration authorities are averages, not guarantees, and can shift depending on the season, the visa office handling your file, and how complete your original submission was. During this waiting period, it helps to keep your travel documents, contact details, and email inbox easily accessible, since additional document requests (sometimes called procedural fairness letters) often come with tight deadlines to respond.
Common Mistakes That Delay or Reject Applications
A few patterns show up again and again in rejected files: inconsistent financial documentation, a weak or generic SOP, incomplete academic transcripts, and applying to a program that doesn’t clearly connect to the student’s academic background or career goals. None of these are complicated to fix, they just require attention to detail before submission, not after a refusal.
Other frequent issues include submitting blurry or incomplete scans of documents, mismatched names or dates across different papers, and failing to explain gaps in education or employment history. Even small inconsistencies, like a slightly different spelling of your name across your passport and academic transcripts, can trigger extra scrutiny. Reviewing every document as a complete, consistent file, rather than checking each one in isolation, is one of the simplest ways to avoid an easily preventable refusal.
Final Thoughts: Start Early, Prepare Thoroughly
Getting a Canada study permit from Pakistan isn’t about luck, it’s about preparation. Students who start early, gather the right documents, and present a genuine, well-supported application tend to have a much smoother experience than those who rush the process. If you’re serious about making this work, treat every document as part of one consistent story: your academic background, your financial stability, and your real intention to study.
At Apex Visas, we have guided thousands of Pakistani students through this entire journey, from choosing the right university to preparing a study permit file that is accurate, complete, and ready for submission.
But we don’t just give advice; Apex Visas will completely help you with the entire process. Our expert team will provide step-by-step guidance, handle all your visa paperwork, and manage your complete application from start to finish. We are here to make sure everything is done perfectly so you can avoid common mistakes, delays, or refusals.
If you are planning to study in Canada from Pakistan, let us take the stress out of your application. Book a free consultation with our team today, and let’s build your future the right way, from the very first step!
Frequently Asked Questions
How long does a Canada study permit take to process from Pakistan? Processing times vary by visa office and season, but applicants should generally plan for several weeks to a few months. Applying early and submitting a complete file the first time is the best way to avoid extra delays.
Can I work while studying in Canada on a study permit? Most full-time international students are allowed to work part-time during academic sessions and full-time during scheduled breaks, subject to the conditions on their study permit.
Do I need an IELTS score for every Canadian university? Most institutions require IELTS or an equivalent English proficiency test, though exact band requirements differ by program and level of study. Some universities accept alternative tests like PTE.
What happens if my study permit application is refused? A refusal letter will usually explain the officer’s reasoning. Many refusals can be addressed in a fresh application with stronger documentation, particularly around financial proof and the SOP